News and stories
Explore press releases along with WWF stories, World Wildlife magazine, the Sustainability Works blog, and the Nature Breaking podcast.
For press and media
Reporter inquiries only: [email protected]
US reporters may also subscribe to the press list for news alerts and monthly tip sheets.
Because of the large volume of requests we receive, we are only able to respond to inquiries from journalists and members of the media. We are not able to respond to student requests or photo permission requests for books.
For all other non-media related inquiries, contact us.
Explore more about our work
© WWF-US / Colby Loucks
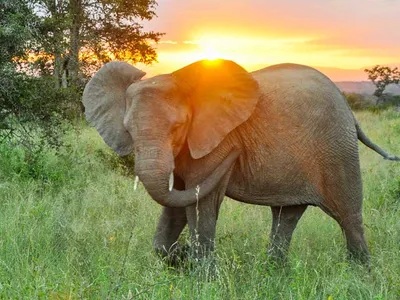
Stories
News and stories
Insights into wildlife, wild places, and communities
© David Arky/WWF-US, styling by Kellie Murphy
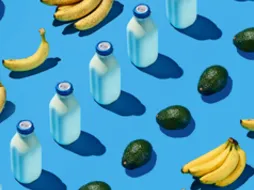
Blog
Sustainability Works
Better business for a better Earth
© Karine Aigner / WWF-US
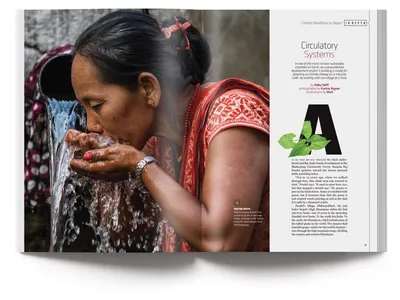
Magazine
World Wildlife
An in-depth look at the connections among animals, people, and nature
© WWF
Podcast
Nature breaking
News and trends affecting our natural world